


There are some good reasons for knowing how to do your own at-home manicure. First, it’s convenient — you can do it when and where you want, and can always touch them up in case of chips. Second, it’s budget-friendly — purchasing your own supplies is way more cost-effective than getting them done at a salon or spa on a regular basis. And lastly, because it’s the year 2020 and you never know when a global pandemic will keep you sheltering at home and away from your favorite manicurist.
A life-long DIYer — my sister and I learned from my mom who always did her own nails; I haven’t had them professionally done since my wedding over a decade ago! — I’m sharing how you can achieve a DIY at-home manicure.
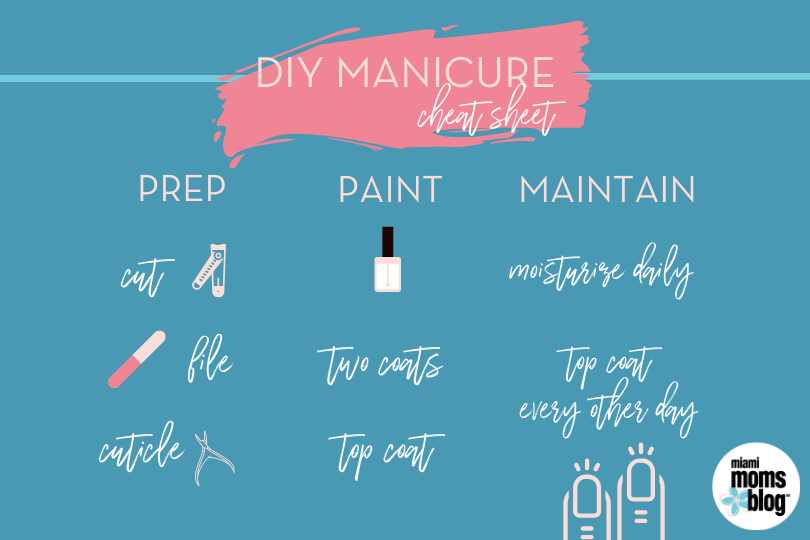
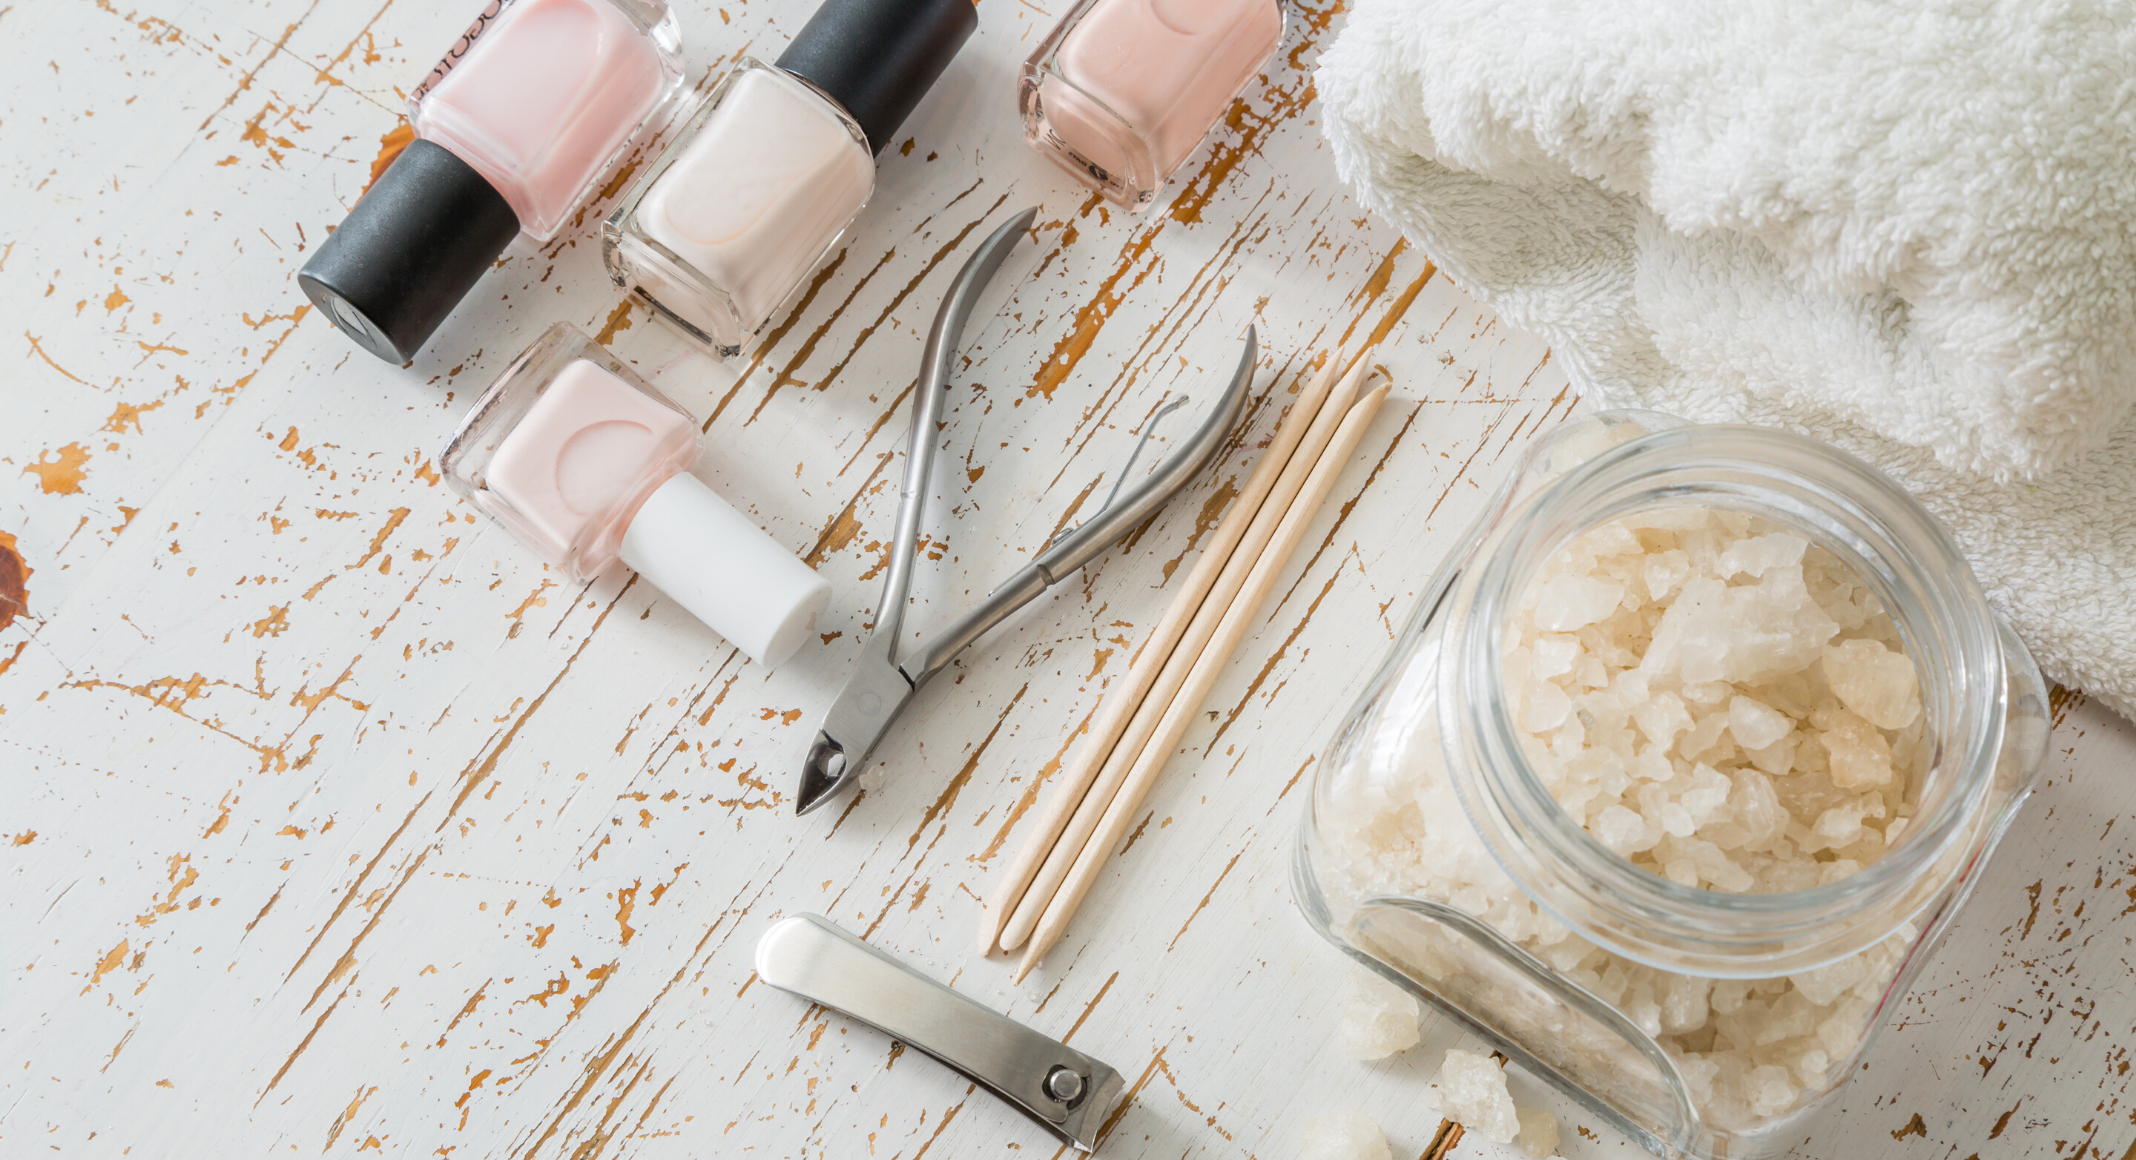
TOOLS
Start with the basics:
- nail clippers
- nail file
- cuticle cream
- cuticle trimmer
- nail buffer (optional)
- favorite nail polish
- top coat (preferably of the quick-dry variety)
- nail polish remover
It sounds like a lot, but most of these items are inexpensive and can be found at grocery or drug stores and online.
PREP
- clip your nails
My sister heard this piece of advice, which she shared with me, and it’s been very helpful: “cut 90, file 10.” In other words, using your nail clippers to start giving your nails the shape you want. It will cut down on the filing (no pun intended), which I find to be one of the more time-consuming steps.
- buff your nails (if needed)
- trim your cuticles
- moisturize
After trying several options, I’ve found Burt’s Bees Lemon Butter Cuticle Cream to be the most effective and long-lasting. If you’re looking to add a little more self-care to the process, Mary Kay’s Satin Hands Pampering Set is a nice option. Once you’re done with all the prep work, it’s time to paint. Before you begin, clean any excess moisturizer or cuticle cream from your nails or your polish may come on streaky.
PAINT
- pick your favorite color
- some of my personal favorites:
- Essie’s Clambake (a bright orangey-red)
- Essie’s Marshmallow (a milky white and the shade I wore for my wedding)
- OPI’s Barking Up the Wrong Sequoia (an opaque peach)
- expressie’s Second Hand, First Love (a dusky rose pink)
- OPI’s V-I-Pink Passes (opaque neon pink; so fun for summer!)
- Essie’s Gossamer Garments (the perfect sheer pink)
- CND Vinyl Lux’s Field Fox #185 (a chic gray)
- OPI’s Black Cherry Chutney (a deep purple with a hint of red shimmer); if you like dark shades, Essie’s Wicked is very popular.
- Essie’s Gel Couture Platinum Top Coat (it dries quickly and helps your mani last — both absolute musts for mom life)
I’ve tried base coats but have never found them beneficial so I always start with my polish.
- When you’re ready to paint:
- place the brush at the base of the middle your nail as close to the cuticle as possible without touching it (I’d rather be extra careful when painting than have a big mess of polish to clean off my cuticles later) and paint through to the tip of your nail in one long stroke.
- Repeat on either side of your nail and move on to the next finger.
- Once you’re done with both hands, repeat for a second coat. Two coats of polish are typically enough, otherwise, they will take a lot longer to fully dry.
- The last step is your topcoat. If you accidentally make a small smudge in the polish before it’s fully dry, the topcoat will often fix that.
I’m right-handed and not ambidextrous, so the first time I started painting with my left hand it was a bit sloppy. If the same happens to you, don’t be discouraged. With just a little practice, you’ll be a pro in no time!
MOM HACKS
Because I don’t have the patience to sit and soak my cuticles in warm water as they would at a salon, I typically do this right after a hot shower.
I also find it challenging to make the time to complete a manicure from start to finish in one sitting. So I’ve found it helpful to do all the prep work right before bed and then paint them early the next morning before the kids are up.
MAINTAIN
- cuticle cream daily
- apply top coat every other day
My manicure will typically last about one week (which includes bathing kids, washing dishes, etc) even with only the initial topcoat application.
If you’re ready to take your at-home mani to the next level, check out @karanailedit for some major DIY inspo! If you’re into makeup, check out these tips for how to simplify your beauty routine here.
Want helpful how-tos, local guides, recipes, and more sent directly to your inbox? Sign up here.


Yessssss! This is literally on my to-do list this week! I love the Mom Hack of prepping the night before and painting early in the morning (while I enjoy a hot cup of coffee before the kids wake)! Thanks Becky!
I have taken up doing my manicure myself over the last few months. So glad I did. It’s been nice doing one little thing for myself. Gel polish is where it’s at as it dries as soon as you cure it and will last for weeks on end if you do it right. lol 🙂
Yes to manicures right after a hot shower! I’m so glad to know that I’m not the only momma that can’t finish a mani in one session! 😉
oooh I never thought about doing it after a shower, that’s genius! I always end up doing it and showering after!
Thank you for sharing! I definitely need to do my nails because it’s been a few weeks and the stress has me chewing them away 🙁
Comments are closed.